Alastair Semple is an accomplished Level 3 British Cycling coach and competitive cyclist, driven by a relentless desire to maximise performance. As a key member of the Legato Racing Team, Alastair is actively competing in Veterans Time Trial Association (VTTA) events, aiming for championship titles in both the 10 and 30-mile categories. His dedication goes beyond competition, focusing continually on refining training techniques and exploring every opportunity to enhance performance - for both himself and the athletes he coaches.
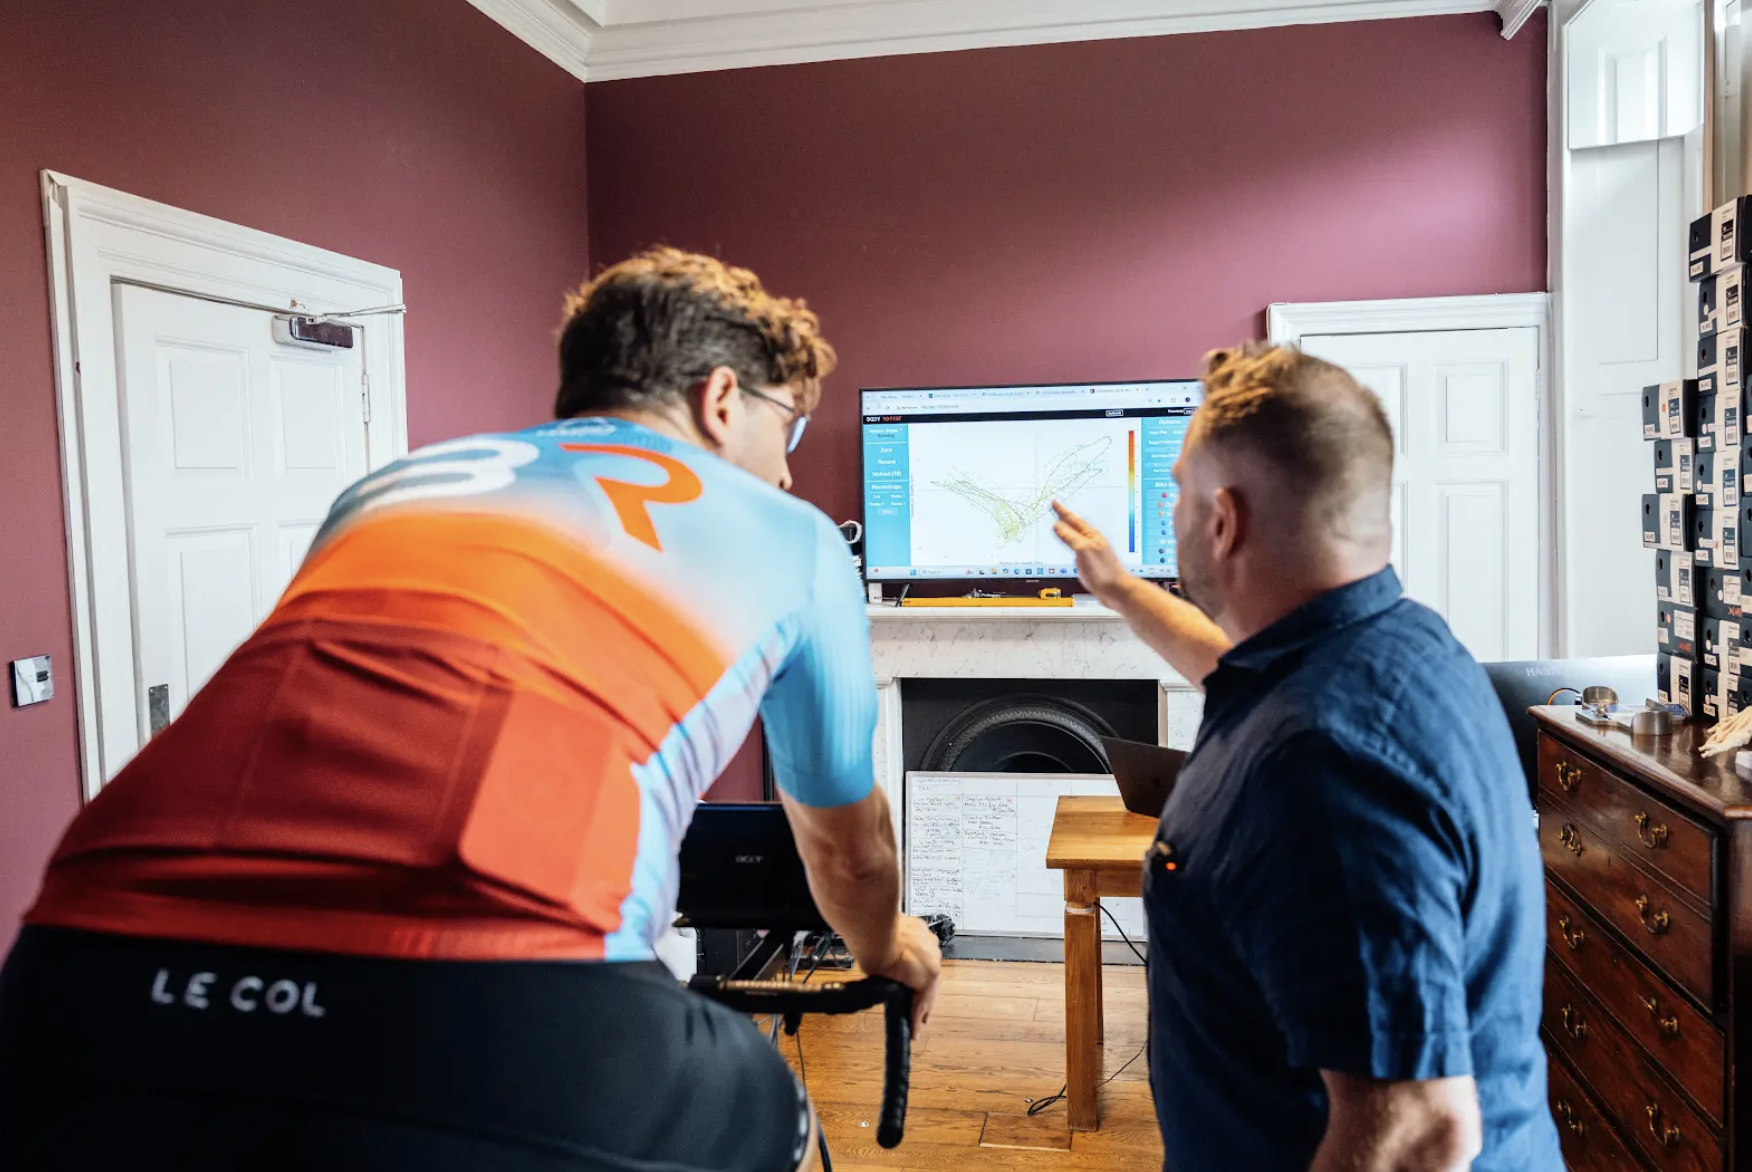
Alastair is relatively new to the Body Rocket system, and he's currently participating in a three-month pilot program led by Legato Racing Team's coach, Steve Loraine. The program began with an initial aero evaluation at the Catesby Tunnel, where he focused on positional changes to identify his fastest time trial (TT) setup.
Alastair's main objective in this initial evaluation was to identify his optimal aerodynamic position for upcoming VTTA competitions. He aimed to refine his posture to achieve the best possible balance of aerodynamics, comfort, and power output.
The evaluation focused exclusively on positional adjustments:
The tests were conducted at the Catesby Tunnel, a 4km out-and-back tunnel, over multiple runs. All tests were position-related, with no other variables being tested during this session.

Figure 1: The chart illustrates the aerodynamic drag (CdA) for different positional adjustments tested, along with the corresponding watts saved and time savings (or losses) over 40km. The tests include arm positioning, reach adjustments, head position, and tilting aero bars.
Key takeaway: The most significant aerodynamic improvement came from tucking his head (R6), which reduced drag the most, saving 10 watts and over a minute over 40km at race pace. Extending the reach (R4) and widening the arms (R3) also proved beneficial, offering noticeable time gains by reducing drag. In contrast, bringing the arms in (R2), vs his baseline position, had no effect on aerodynamics, while retracting the reach (R5) and tilting the aero bars upward (R7) increased drag, resulting in watt losses and slower performance.

Figure 2: The following graph explores Alastair’s saddle position (X-axis relates to mm moved forward or backwards from the centre of the saddle) during his baseline run.
Key observation: Alastair maintains a relatively stable position on the saddle, with minor fluctuations in movement and shuffling. The data suggests he remains within a consistent range, ensuring a stable platform for pedaling
This consistency is crucial for maintaining aerodynamic efficiency and comfort, particularly for longer races where excessive movement can lead to discomfort and inefficiencies.
Implication: The stability in the baseline run confirms that Alastair’s default position does not cause excessive movement or instability, which is essential for effective power transfer and reduced fatigue.
Figure 3: Additional Saddle Position Analysis (R4: Reach extended forward)

Figure 3: This second graph evaluates Alastair’s saddle position while adopting a reach forward position, compared to the baseline run.
Key observation: Similar to the baseline run, Alastair’s position on the saddle remains relatively stable, showing only minor deviations. Despite the altered position, his contact with the saddle is consistent, suggesting that the change in posture has not significantly influenced how he sits.
This is an important factor in long-distance events, as it indicates that the reach forward adjustment does not negatively impact his comfort or ability to maintain a stable pedaling position.
Comparison to Baseline Run: The similarities between the two graphs indicate that Alastair’s reach forward position does not introduce excessive movement or instability. This suggests that he can adopt this position without compromising his comfort over extended periods.
Figure 4: Baseline Pedal Power Phase

Figure 4: The graph shows Alastair’s power data for both pedals for his base run. This shows a peak power of 565.7W at an angle of 358.4 degrees for the left pedal and 498.7W at 358.4 degrees for the right pedal. The power distribution indicates a strong and consistent engagement during the downstroke phase, with angular velocity variations staying within a relatively stable range.
Key observations:
Figure 5: Pedal Power Phase After Forward Position Adjustment

Figure 5: Pedal Power Phase After Forward Position Adjustment
In the Reach Forward position, the angle of peak power remains consistent with the baseline, occurring at 178.5 degrees for the left pedal and 358.4 degrees for the right pedal. This stability in peak power angles suggests that the positional change does not disrupt muscle engagement patterns, which is crucial for maintaining an efficient pedal stroke. Keeping the angle of peak power aligned with the baseline reduces the risk of biomechanical inefficiencies and ensures a smooth transition into the new position with minimal adaptation time.
Key comparisons:
The initial session demonstrated clear benefits from adjusting Alastair’s reach position, significantly improving aerodynamic efficiency while maintaining biomechanical stability. The comparison between R1 (baseline) and R4 (Reach Forward) highlights that while the new position reduces aerodynamic drag (CdA) and offers time savings, it does so without disrupting pedal stroke mechanics.
The peak power angles remained stable, ensuring that muscle engagement patterns were not significantly altered. This consistency means Alastair can transition into the new position with minimal adaptation time, maintaining efficient power transfer and reducing fatigue over longer efforts. Additionally, saddle stability remained consistent, reinforcing that the Reach Forward position does not introduce excessive movement or instability.
While max power output was slightly lower in R4, this is attributed to a lower average power output for the run.
As Alastair continues working with Body Rocket, further refinement will help optimize this position for both power output and long-term race performance, ensuring he remains competitive at the highest level.
“Using the Body Rocket has been a game-changer! By analysing different positions, I've unlocked the ability to open up my hip angle, reducing strain on my damaged cartilage. This means I can push my limits, race stronger, and stay competitive for decades to come”
Experience the first aero testing session in The Aeronauts, a Body Rocket mini-series. In this opening episode, cycling and triathlon coach Steve Loraine leads a session inside Catesby Tunnel with his Legato Racing teammates, including Alastair Semple.
Catch the full episode now on the link below - Episode 2 is coming soon!
.png)


.png)